This guide offers step-by-step instructions for setting up Eclipse so that you can run and develop ScenarioTools.
We are currently not maintaining any update site.
This setup was last tested with Eclipse IDE version 2018-12 R. In the case that you encounter any problems installing the software, please contact Joel Greenyer (greenyer@inf.uni-hannover.de)
Note: Some of the screenshots used in this guide may be out-of-date. When in doubt, try to follow the text instructions rather than the screenshots.
Step-by-step Installation Guide
Download Eclipse IDE for Java and DSL Developers
Download the Eclipse IDE for Java and DSL Developers from https://www.eclipse.org/downloads/packages/ and extract it to a folder of your choice.
Note for Windows users: Due to the sometimes very long paths/filenames in the eclipse directory, it is recommended for Windows users to install Eclipse to a location like C:\Eclipse or even C:\e. Otherwise, some files may get lost due to the restricted file name length. The same is recommended for other folders that contain Eclipse-related files such as your Eclipse workspace or your local copy of the Git repository.
Prepare the Workspace
In order to compile projects with Xtend files, you need to change your text file encoding to UTF-8 in Eclipse:
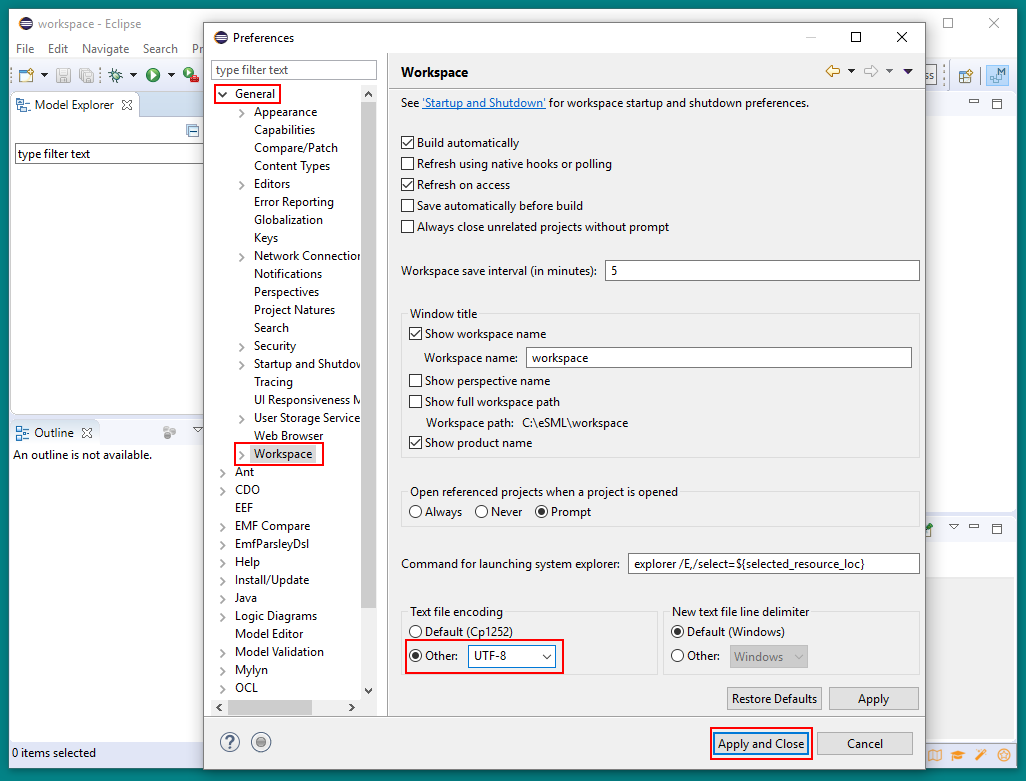
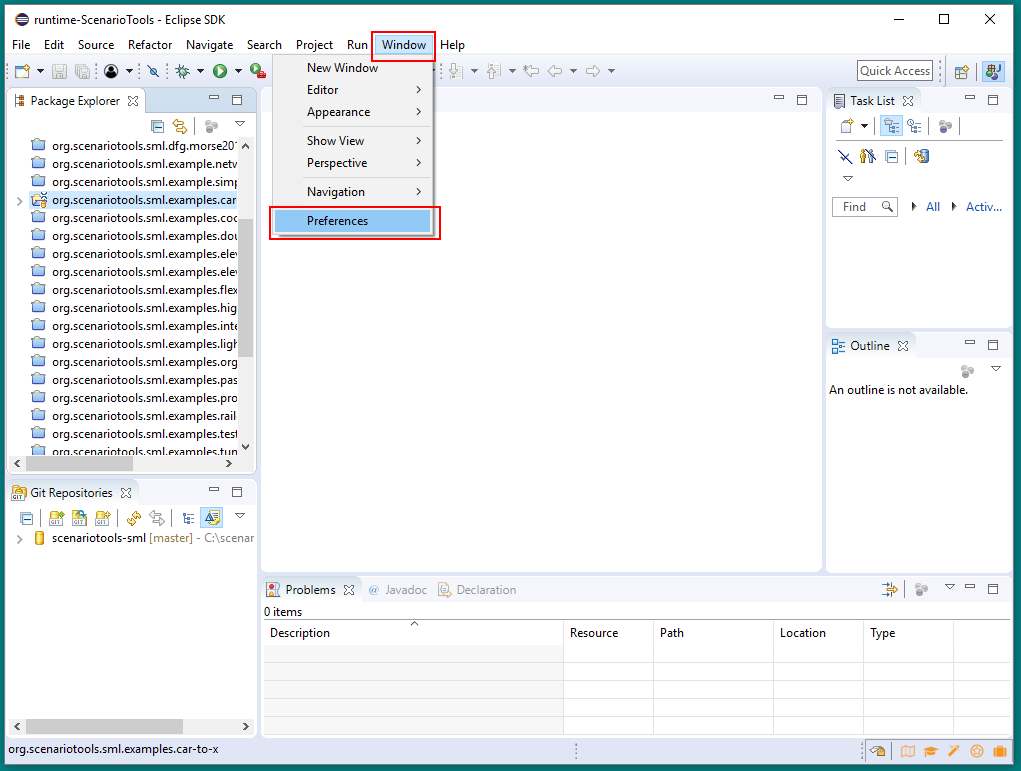
- Open the dialogue “Window -> Preferences”
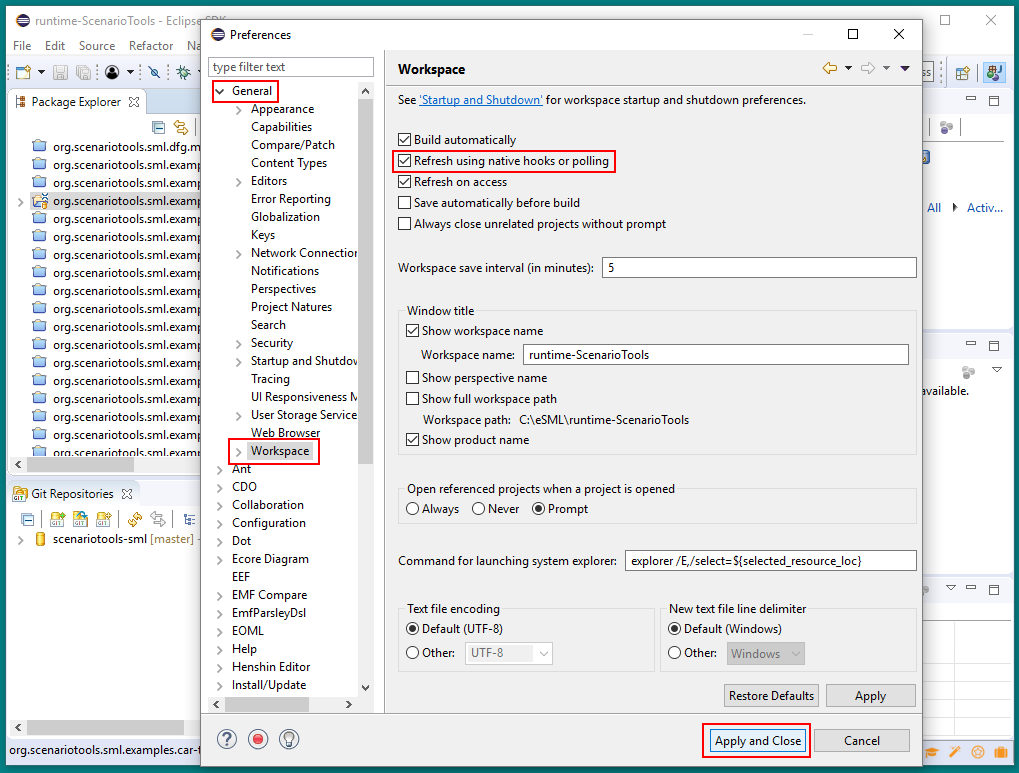
- Select the sub menu “General -> Workspace”
- Change “Text File encoding” to UTF-8
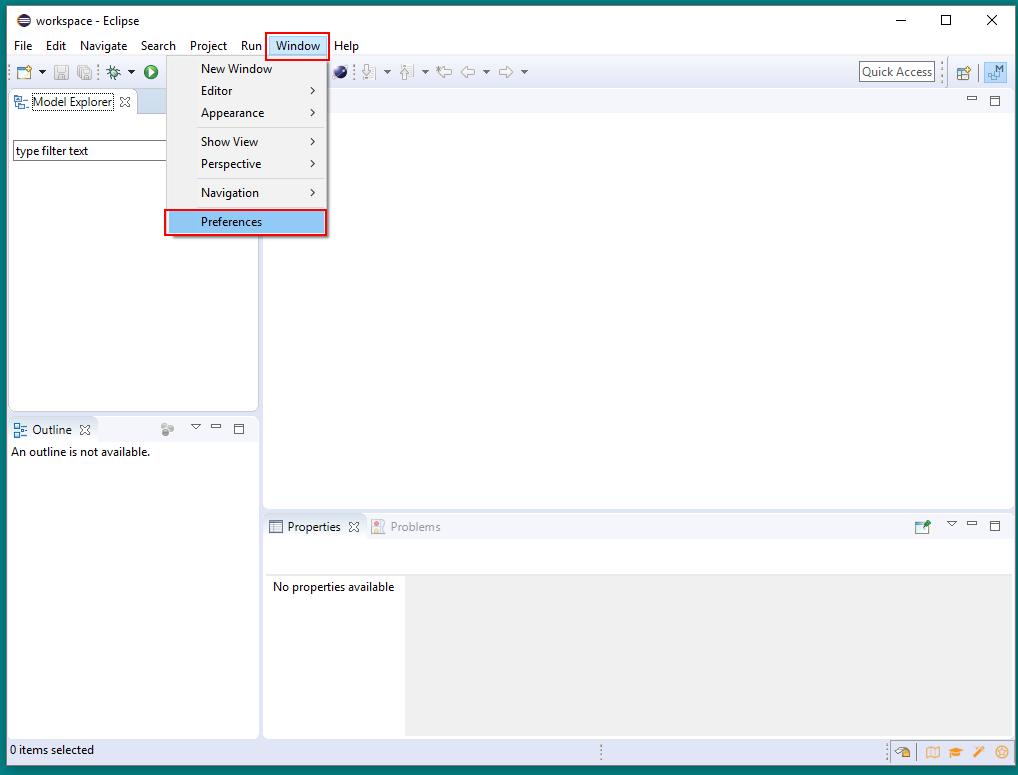
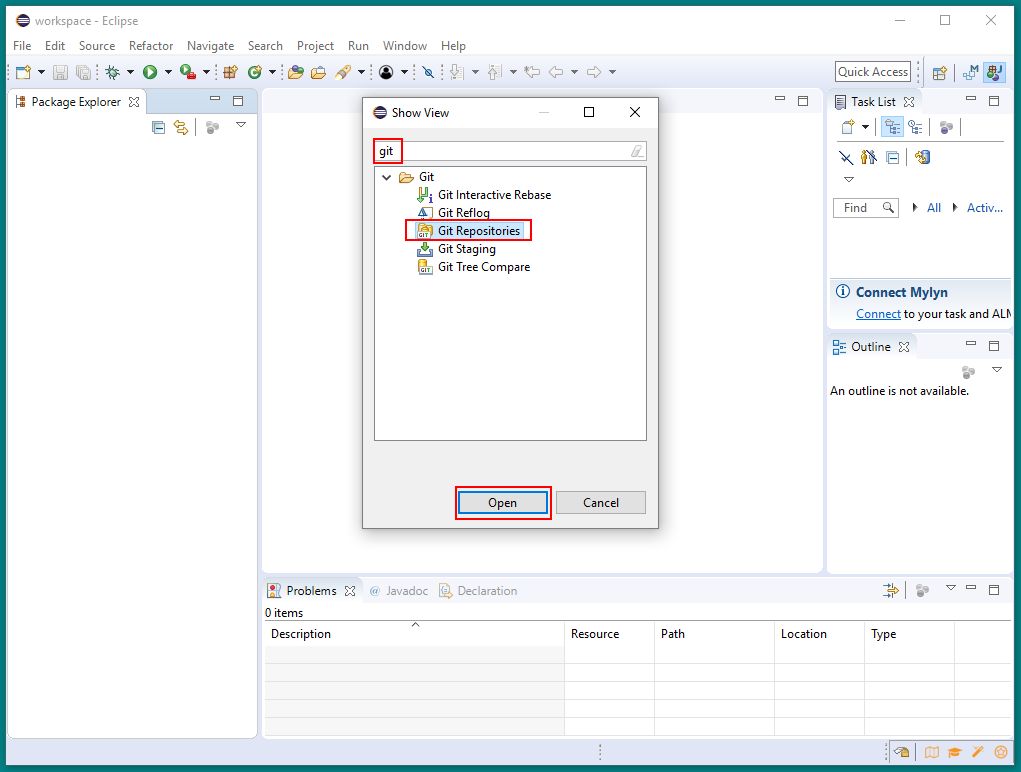
Furthermore, you will need the Git Repositories View:
- Open the dialogue “Window -> Show View -> Other…”
- Search for git
- Select Git Repositories and then click on Open
Screenshots:

Install Dependencies
You need to install a number of packages from external update sites (Help->Install New Software…). Use the update site URLs and select the features indicated below. This may involve multiple restarts of Eclipse.
- Zest 1.7:
- Update Site URL: http://download.eclipse.org/tools/gef/updates/legacy/releases/
- Feature to install: Zest SDK 1.7.0.201606061308
(Note that there is also a newer version of Zest with GEF 5.0, but we require the “legacy” version for some of the views)
- GEF DOT:
- Update Site URL: http://download.eclipse.org/tools/gef/updates/releases
- Feature to install: GEF DOT SDK 5.0.200.201809050204 (possibly a later version will work as well)
- GMF Tooling v3.2.1:
- Update Site URL: http://download.eclipse.org/modeling/gmp/gmf-tooling/updates/releases-3.2.1/
- Feature to install: Graphical Modeling Framework (GMF) Tooling SDK 3.2.1.201409171321
- Henshin:
- Update Site URL: http://download.eclipse.org/modeling/emft/henshin/updates/release
- Feature to install: Henshin SDK (Incubation) 1.4.0.201611301251
Note: Henshin (a graph transformation tool) and the GMF Tooling (required by Henshin) are only required for some examples. If you do not install these components, the plugin “org.scenariotools.sml.runtime.henshin” (which you will import during the next step) will have missing dependencies. You can close this project or remove it from the workspace and should still be able to compile the remaining projects, and then work with SML specifications without Henshin models.
Clone the Git Repository
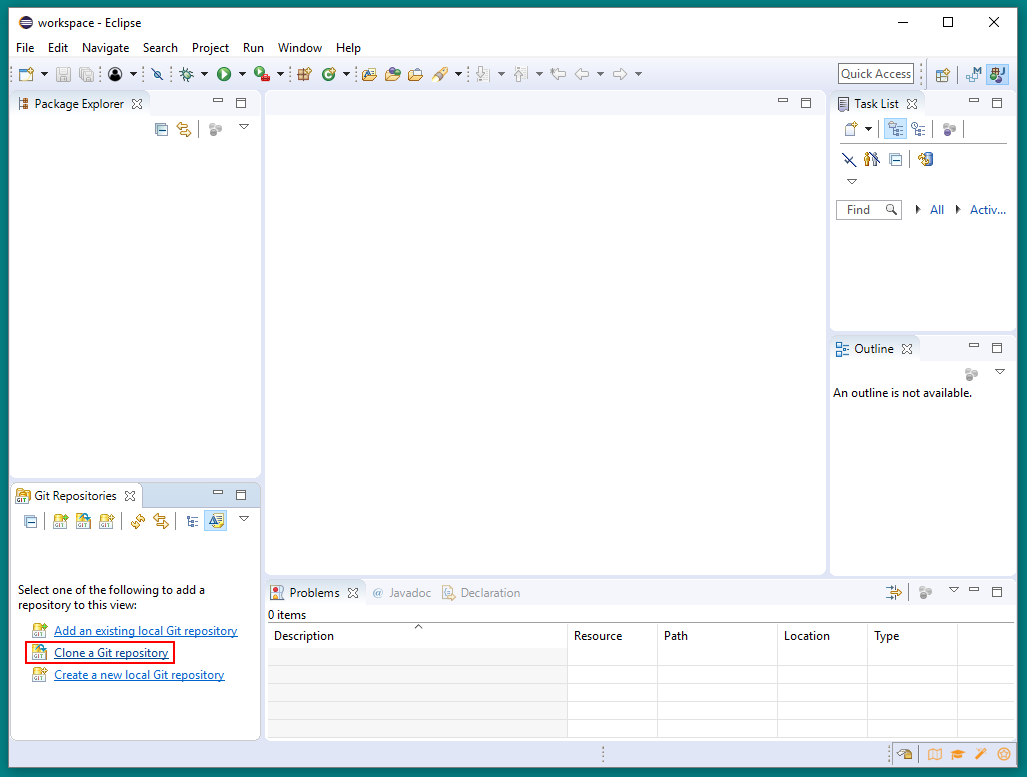
In order to create a local copy of the Git repository:
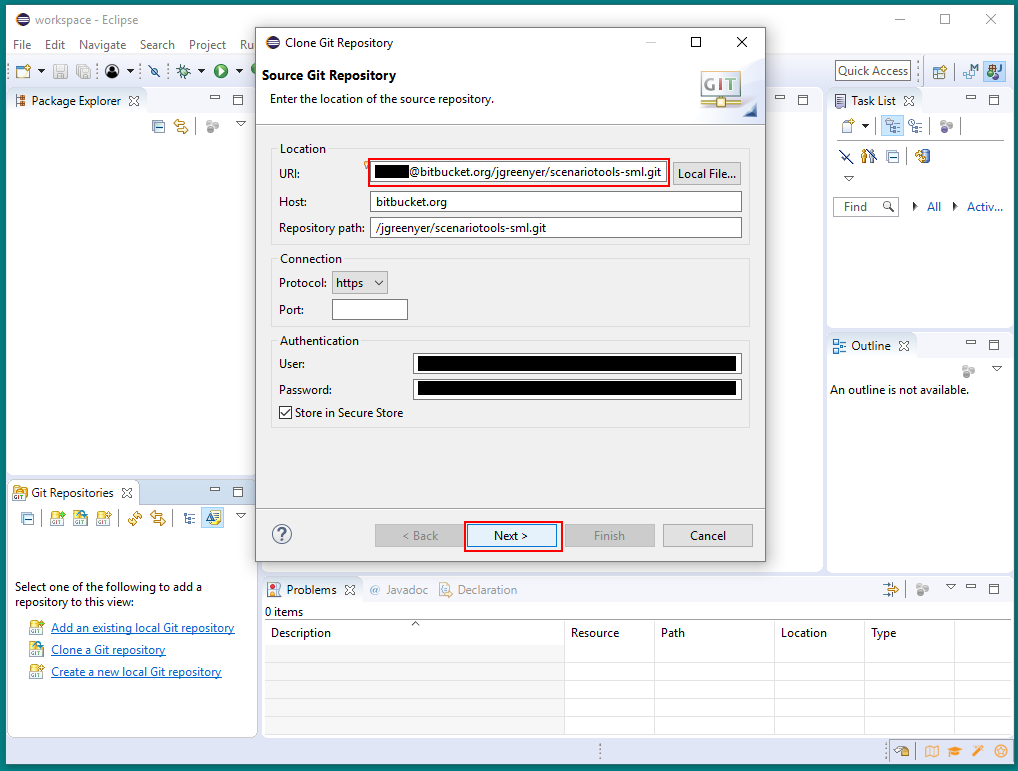
- Click on Clone a Git repository in the Git Repositories View
- copy & paste the Clone URI (https://bitbucket.org/jgreenyer/scenariotools-sml.git) from Bitbucket into the URI field and enter your login credentials (if applicable)
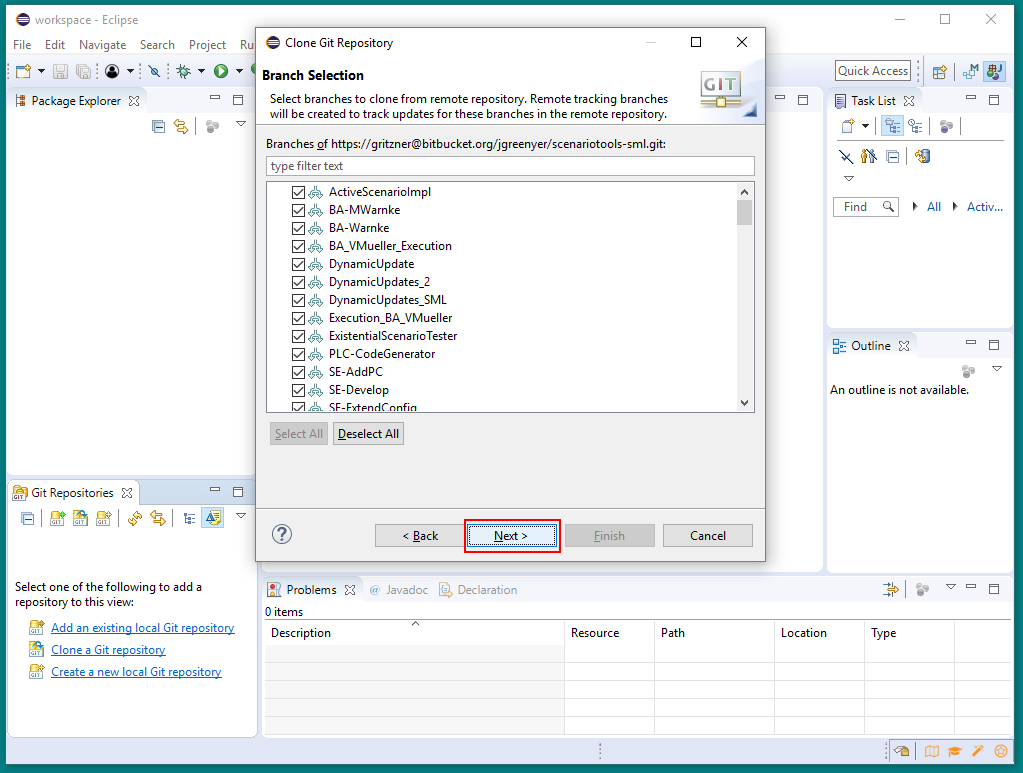
- keep all branches selected and simply click on Next
- choose a location for your local copy of the Git repository and click on Finish
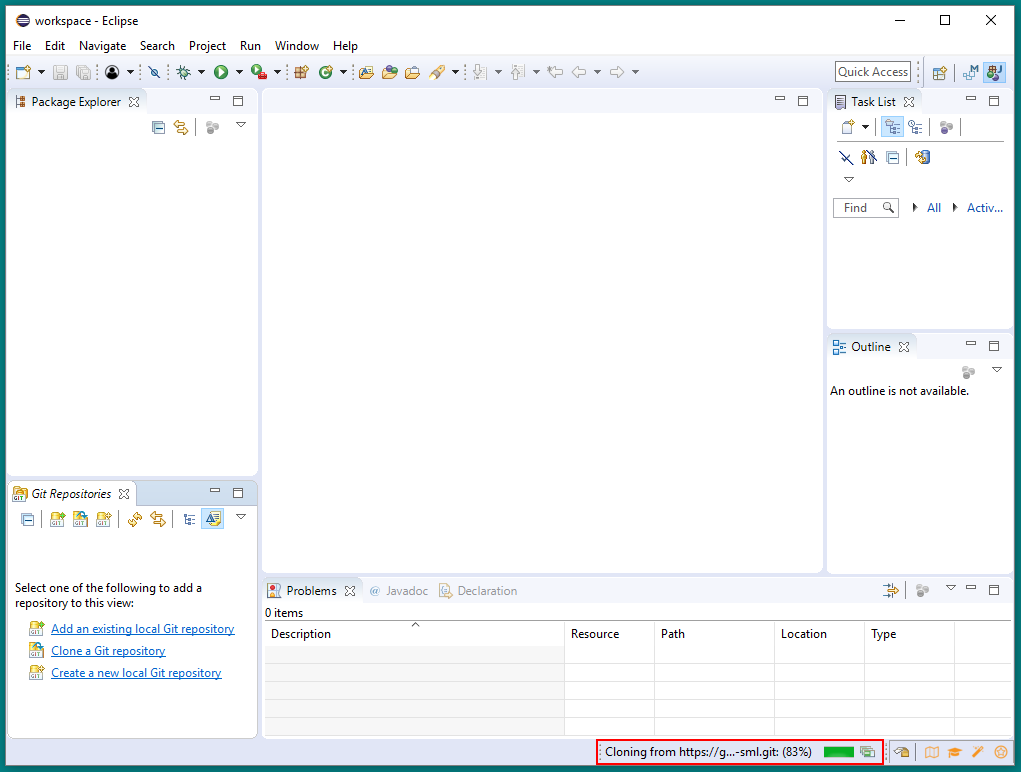
- wait until the Eclipse finishes cloning the repository (progress indicated in the lower right of the main Eclipse window)
Screenshots:

Import the ScenarioTools Plug-in Projects
Importing the ScenarioTools plug-in projects into your workspace works as follows:
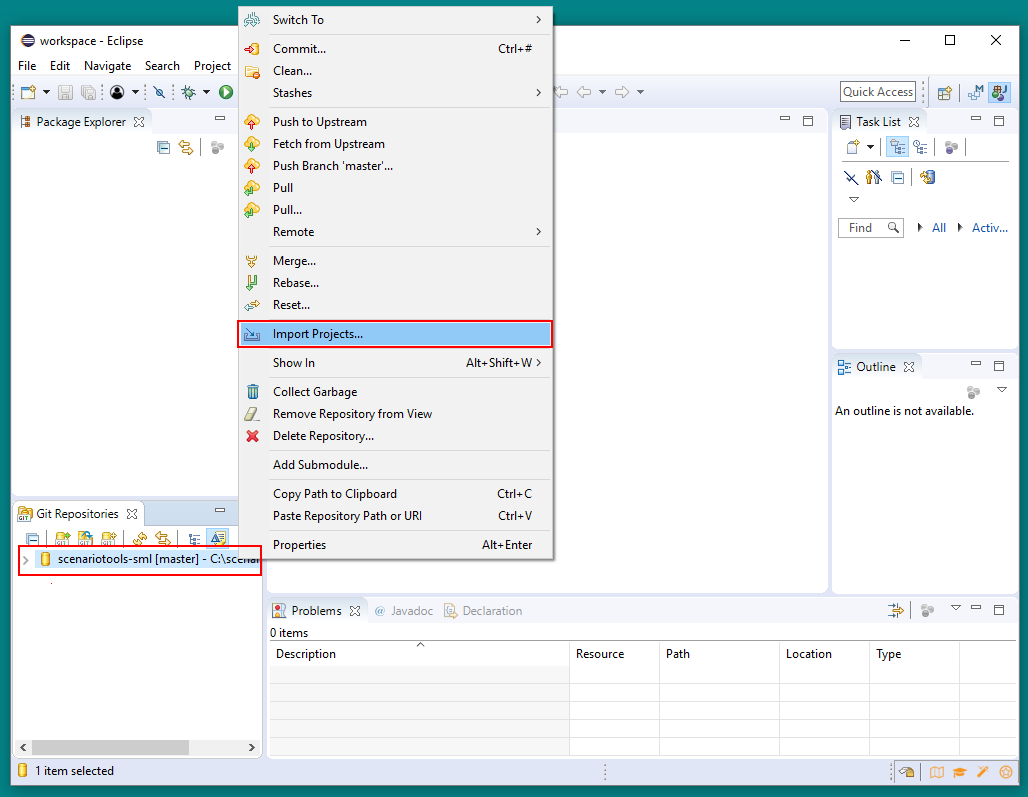
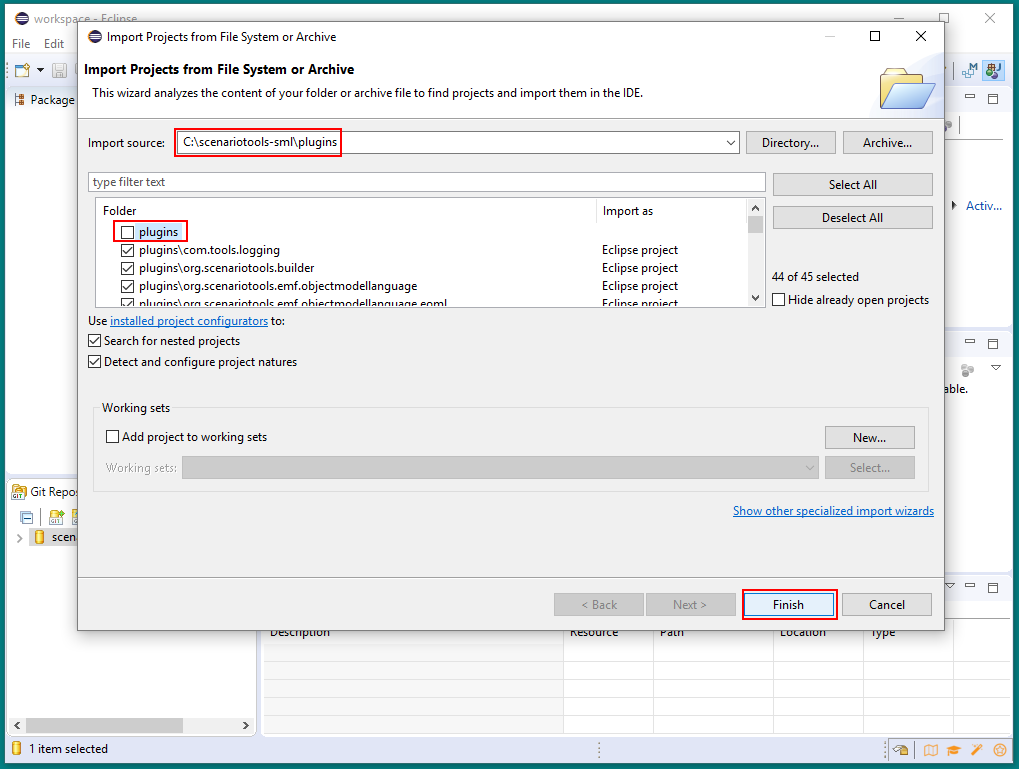
- Right-click on the ScenarioTools repository in the Git Repositories View and then choose Import Projects…
- Append “\plugins” to the “Import source:” field at the top, then deselect the top-most entry which just reads plugins and is not an Eclipse project
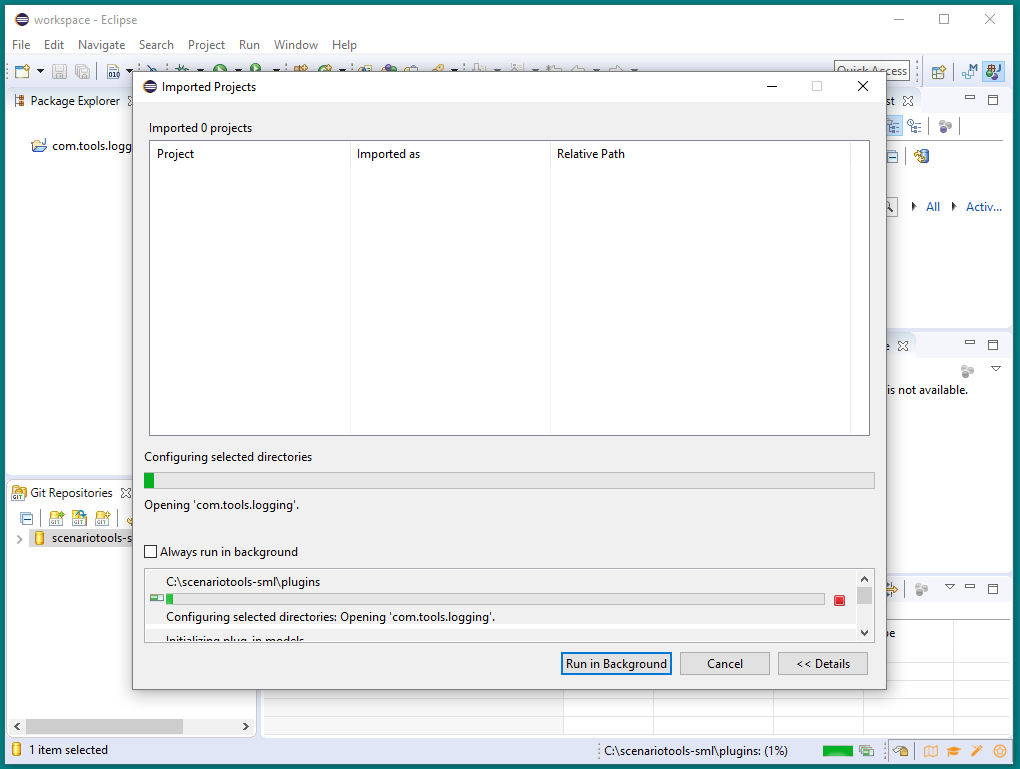
- Click on Finish and wait for Eclipse to import all projects
Screenshots:
Deal with Compiler Errors
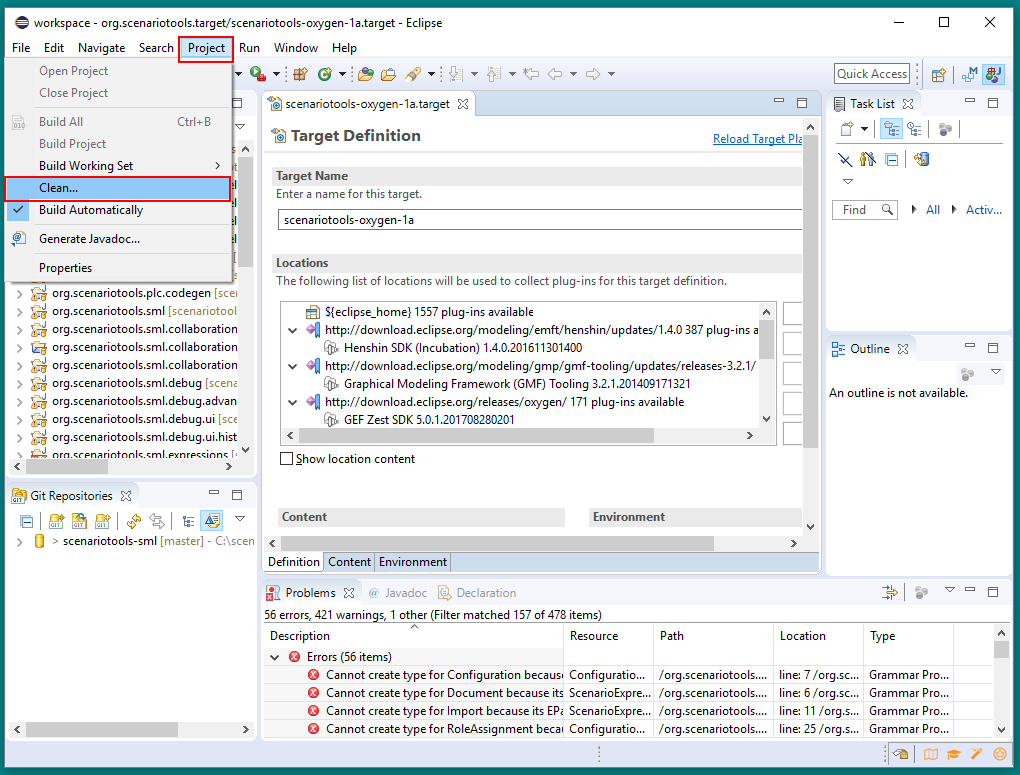
Sometimes Eclipse fails to properly compile ScenarioTools after installing all required dependencies. If, after the previous step completed, you still see any errors (warnings can be safely ignored) in the Problems view at the bottom, repeatedly follow these steps until there are no more errors:
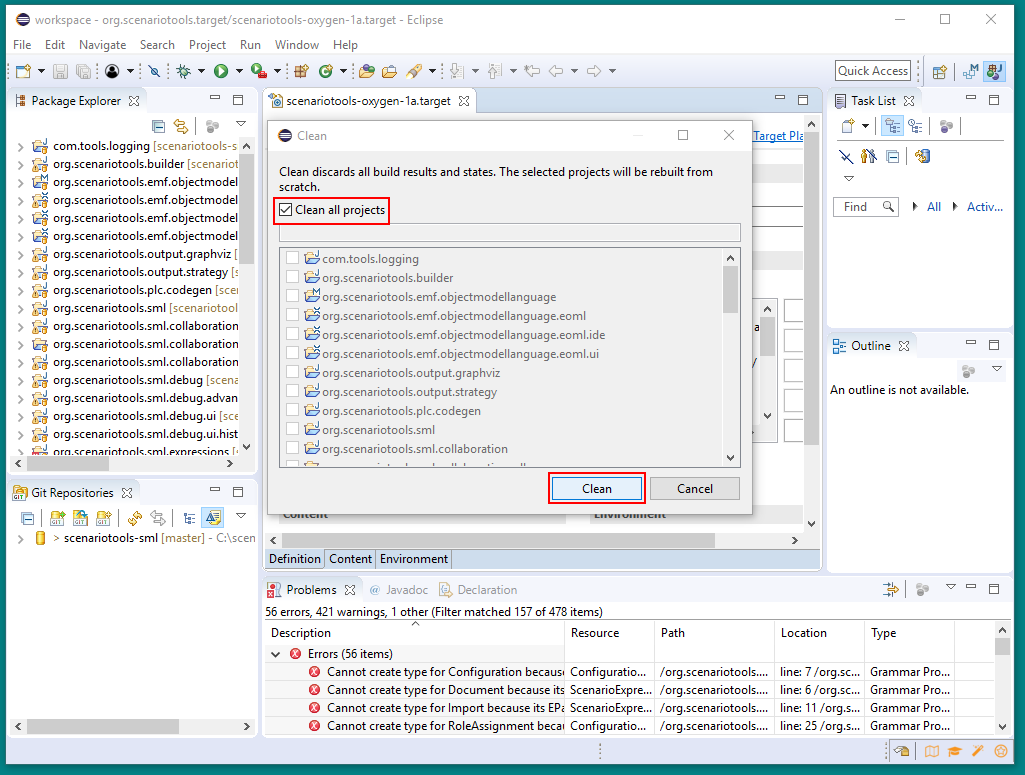
- Click on “Project -> Clean…”
- Make sure that “Clean all projects” is selected and click on Clean
- Wait for Eclipse to rebuild ScenarioTools
- Restart Eclipse
Screenshots:
Create Launch Configuration
As a final step you need to create a Run/Debug configuration which you will use in the future when you want to launch ScenarioTools itself:
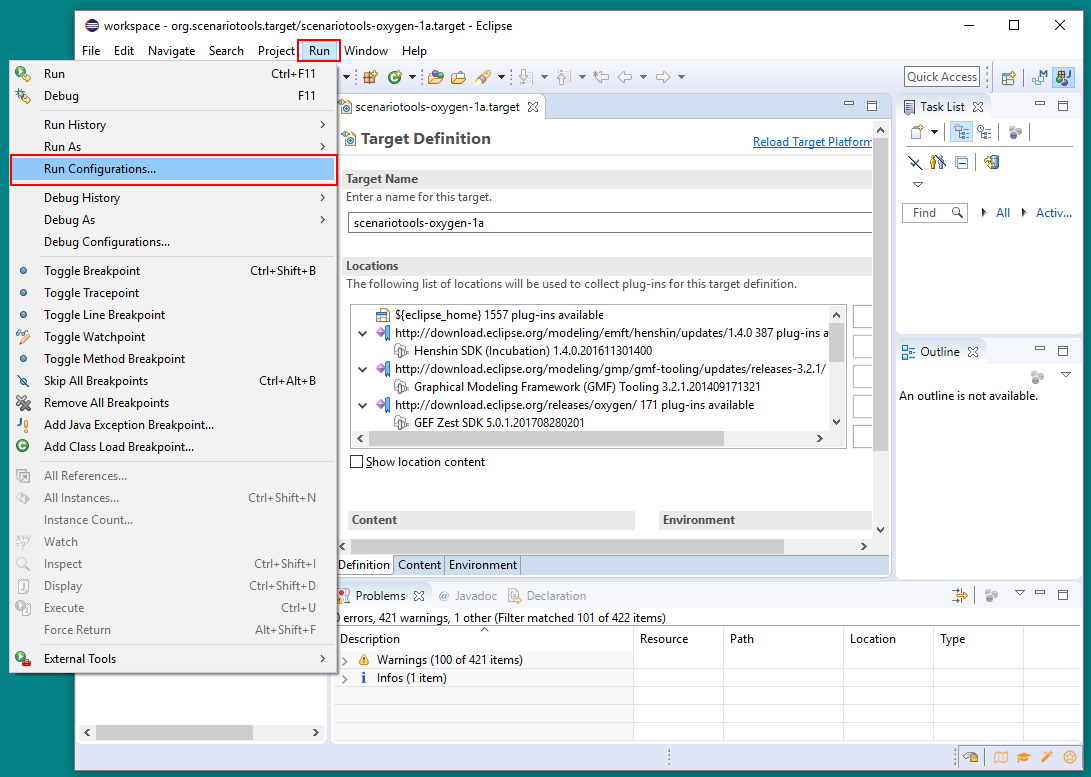
- Click on “Run -> Run Configurations…”
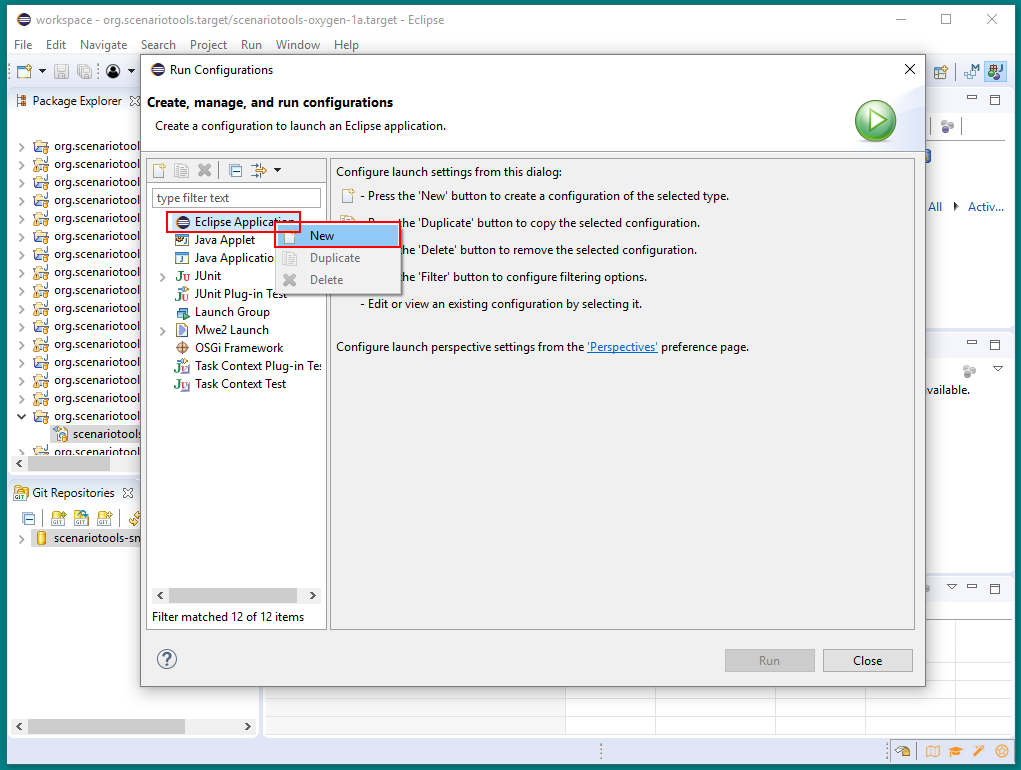
- Right-click on “Eclipse Application -> New”
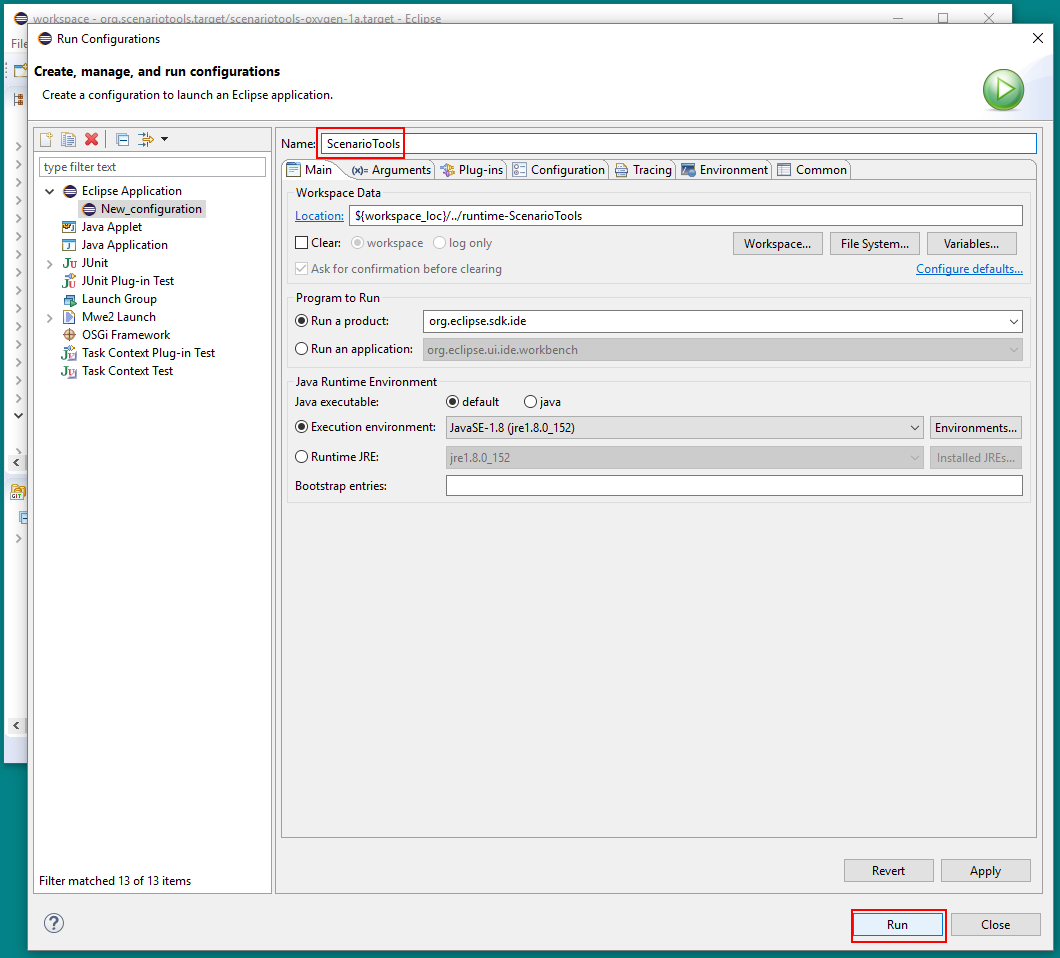
- Enter a name of your choice in the Name: field at the top
- Click on Run
- ScenarioTools will now launch
Screenshots:
ScenarioTools Setup Guide
This part of the guide will give you useful tips on how to set up ScenarioTools itself. All the steps described here must be performed in your ScenarioTools runtime Eclipse instance which you launch from the Eclipse instance containing the source code projects of ScenarioTools.
Import Examples
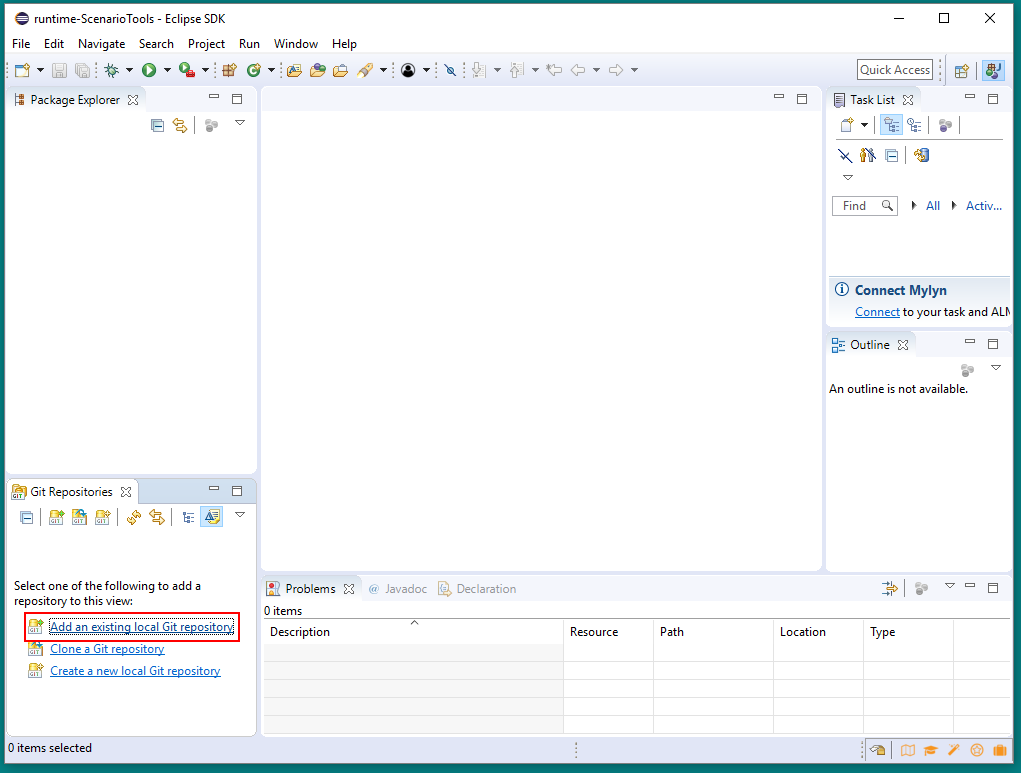
The ScenarioTools Git repository contains many helpful examples. To access them, first, add the Git Repositories View as you did before when preparing your workspace for the ScenarioTools source code. Then follow these steps:
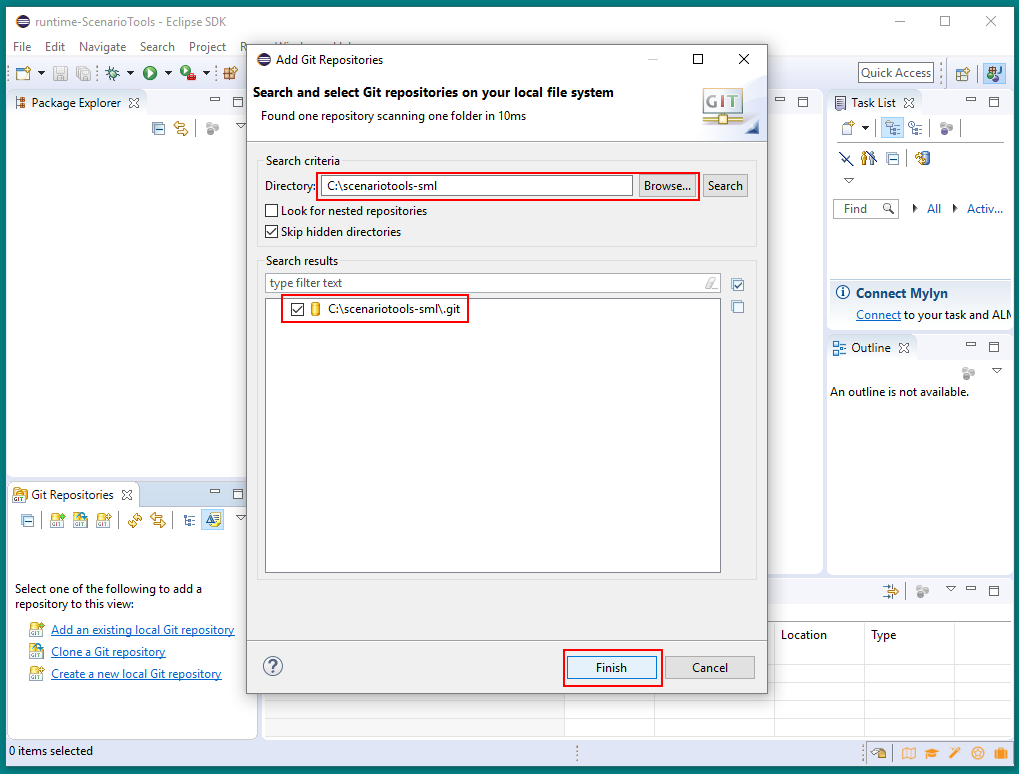
- Click on Add an existing local Git repository in the Git Repositories View
- Browse to the folder on your system into which you cloned the ScenarioTools repository
- Select the ScenarioTools repository and click on Finish
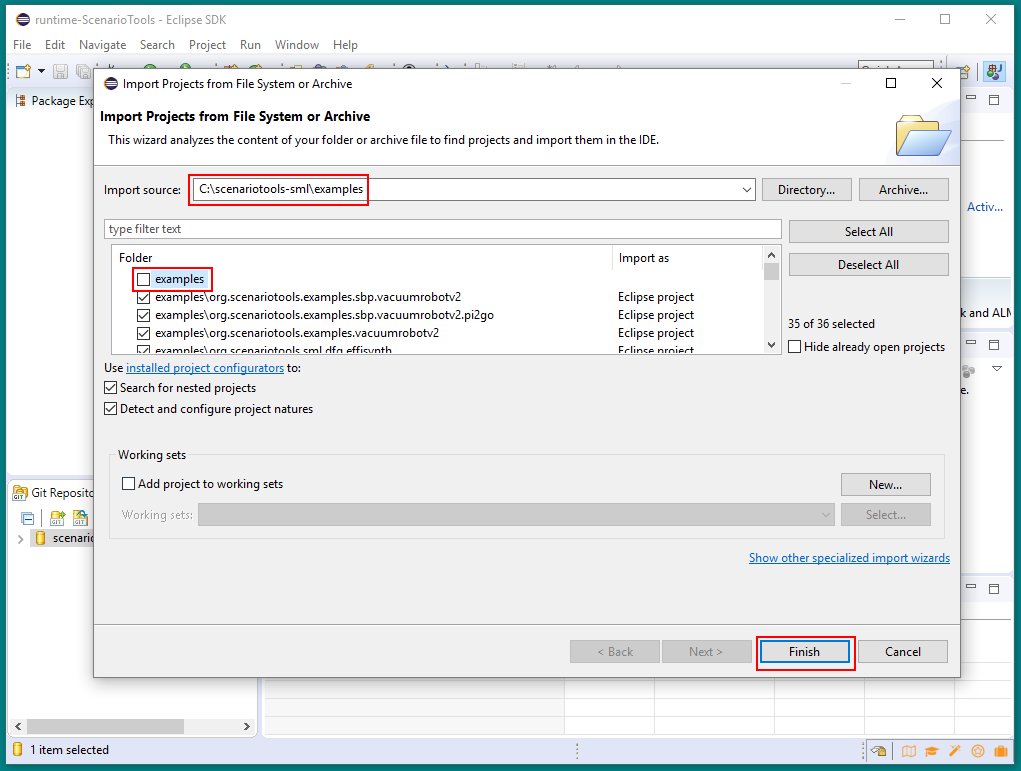
- Open the dialogue for importing projects as before
- This time, append \examples to the Import source: field and deselect the non-Eclipse project entry examples
- Click on Finish and wait for Eclipse to import the example projects
Screenshots:
Integrate Graphviz
ScenarioTools uses Graphviz for visualizing object systems/models as well as offering dot files as one option to visualize state graphs and strategies. dot files can be turned into PDFs via Graphviz. If you want to use these features:
- Download and install Graphviz
- Create an external tool configuration (for turning dot files into PDFs):
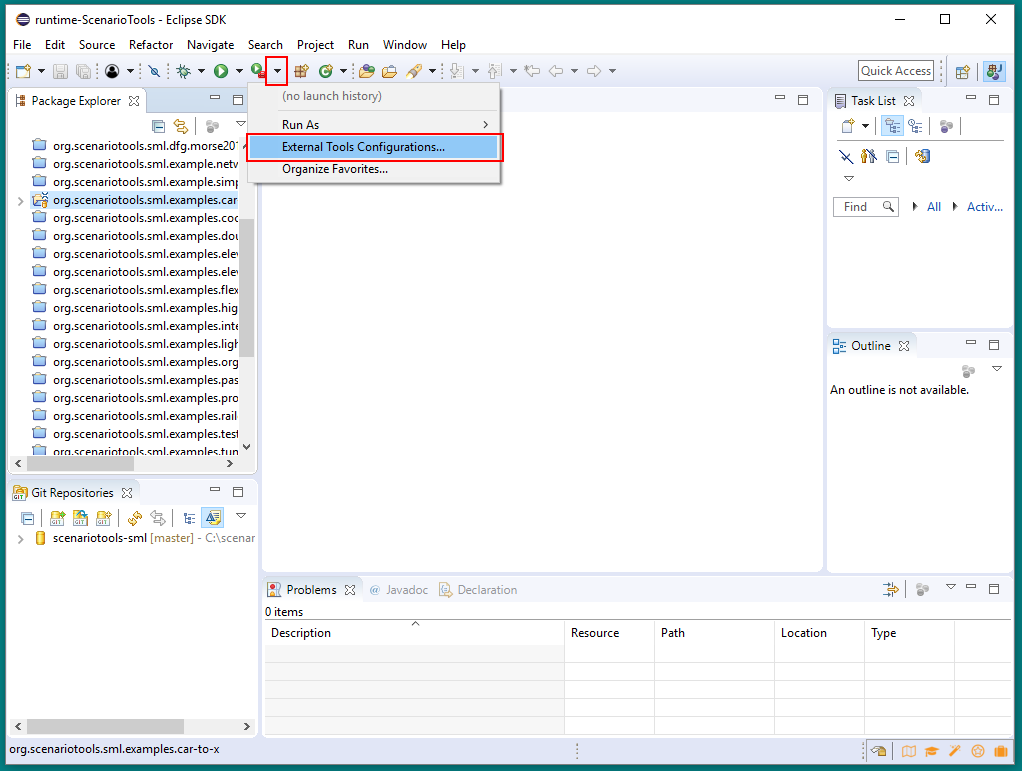
- Click on the downward pointing arrow to the right of the Run External Tool icon (Play icon with a green background and a little red toolbox next to it)
- Click on External Tools Configurations…
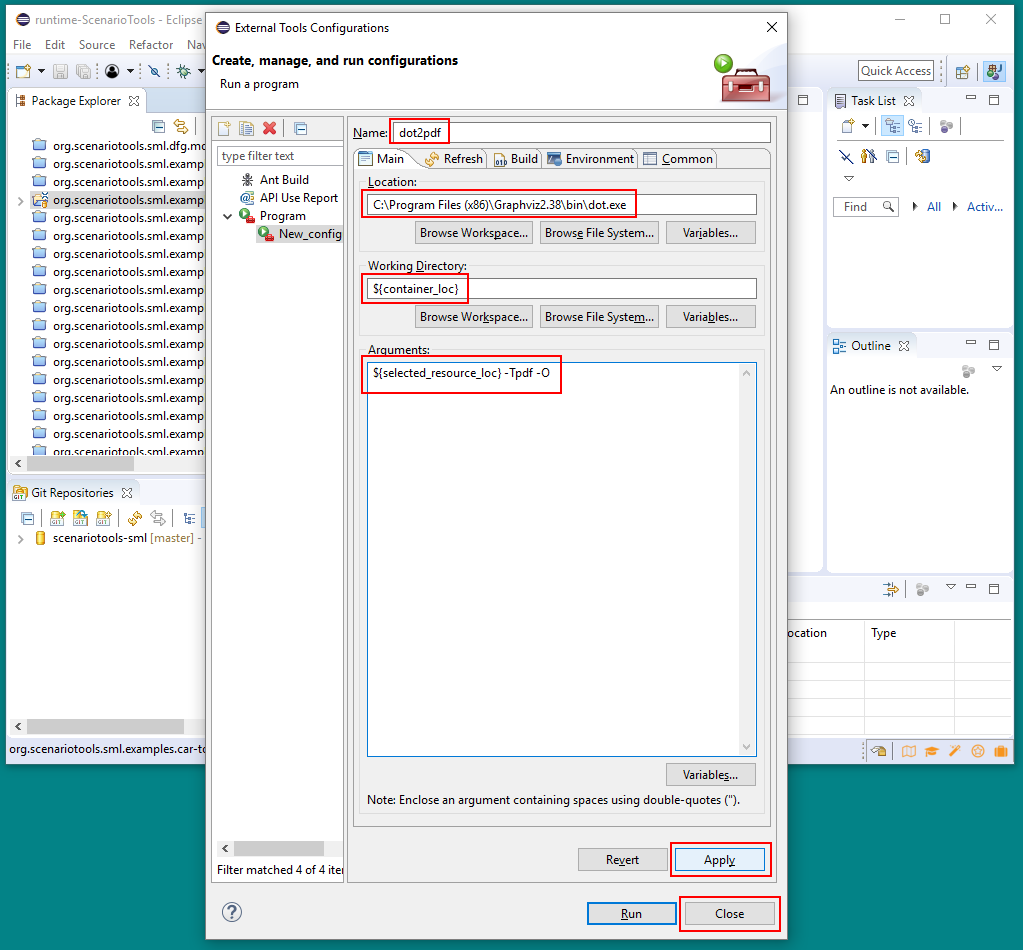
- Right-click on Program and choose New
- Pick a name for the configuration
- Enter the path of your dot binary (part of your Graphviz installation) into the Location: field
- Set the Working Directory: field to
- ${container_loc}
- Set the Arguments: field to
- ${selected_resource_loc} -Tpdf -O
- Click on Apply and Close
- (Optional) Enable Refresh using native hooks or polling in “Window -> Preferences -> General -> Workspace” to avoid having to refresh your workspace manually by pressing F5 when dot files or PDFs are generated
- Point ScenarioTools to your Graphviz installation for object system rendering:
- Open the Preferences as before
- Navigate to “ScenarioTools -> ObjectSystem View Preferences”
- Browse to the bin subdirectory of your Graphviz installation
- Click on Apply and Close
Screenshots:


Add the ScenarioTools SML Simulation Perspective
ScenarioTools offers a simulation perspective similar to the Debug perspective for Java projects. This perspective can be used to conveniently simulate SML specifications. To add it to your ScenarioTools:
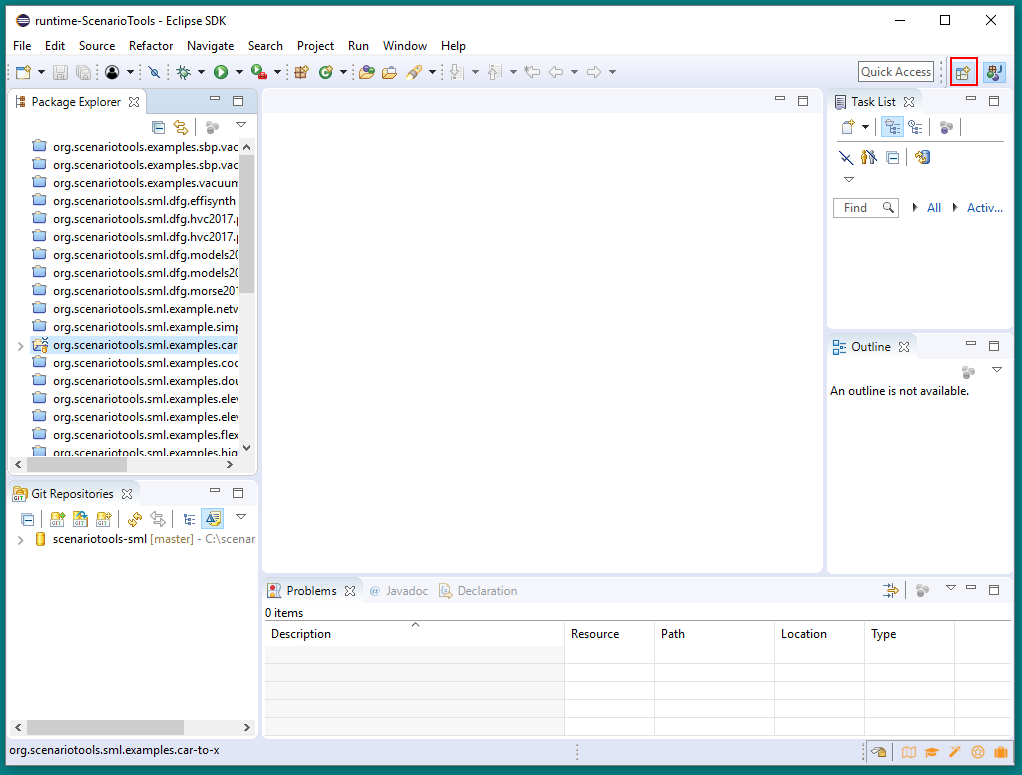
- Click on the Open Perspective icon in the top-right corner
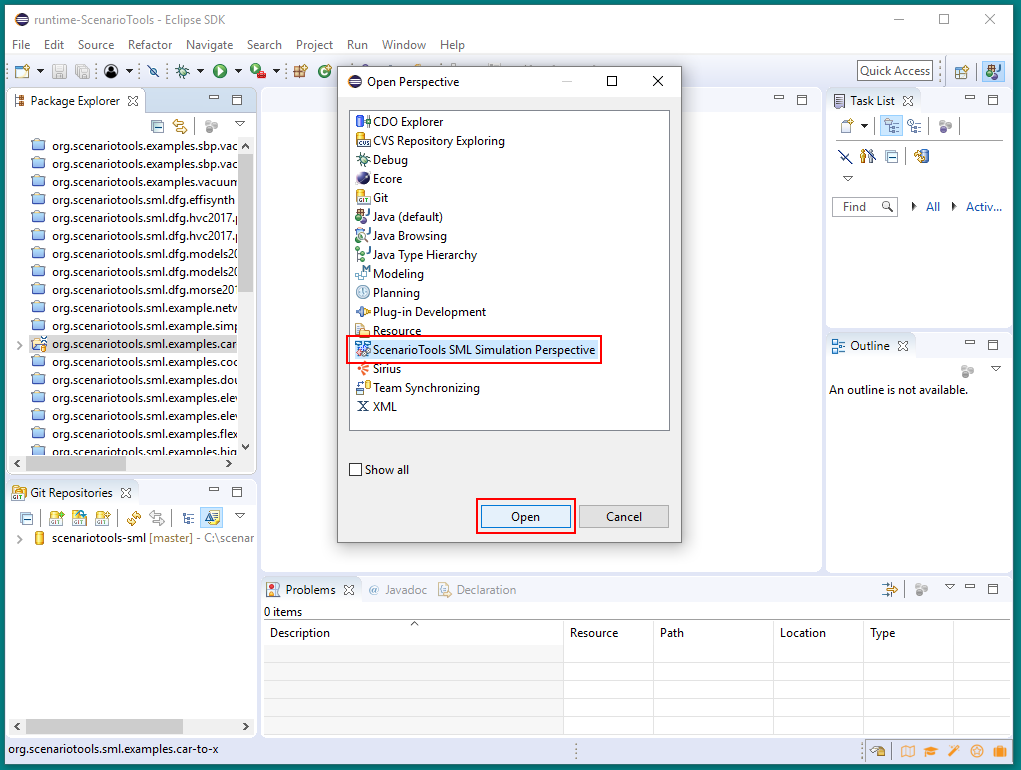
- Select ScenarioTools SML Simulation Perspective and then click on Open
Screenshots:
Usage
Video tutorials explaining how to use ScenarioTools can be found here.
Alternative Installation Guide
If the above installation guide does not work for you, you may also try downloading and installing the Eclipse Modeling Tools instead of the Eclipse IDE for Java and DSL Developers.
Download Eclipse Modeling Tools
Download the Eclipse Modeling Tools and extract them. Remember that some of the filenames may be too long for Windows file systems.
Switch to Java Perspective
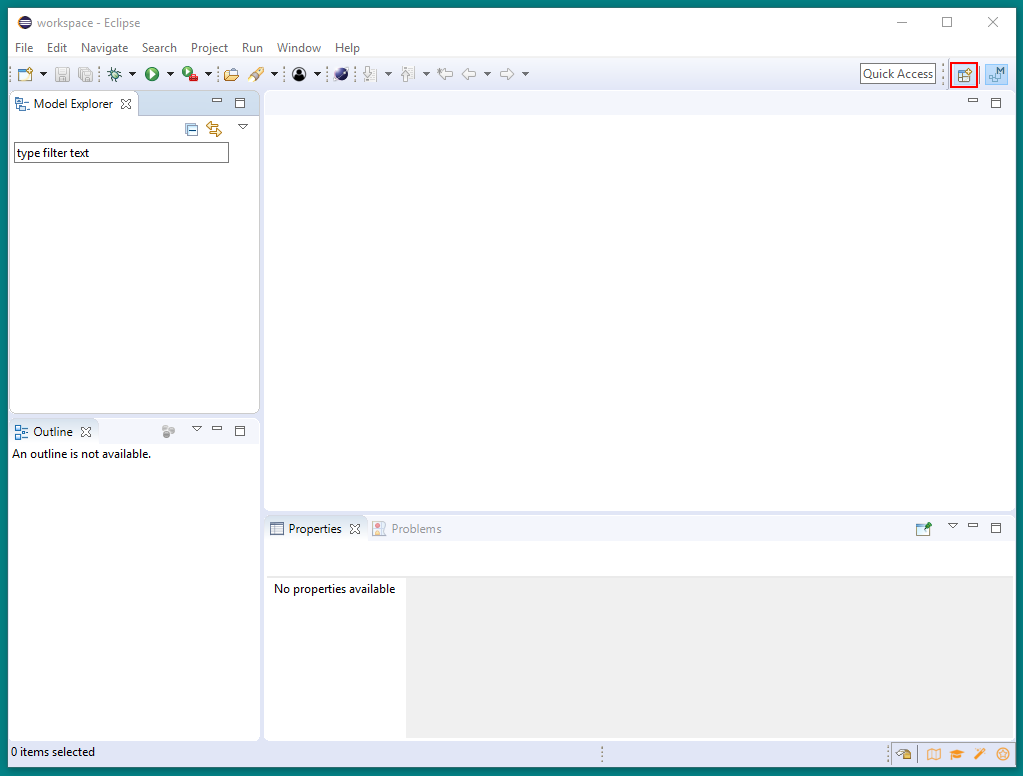
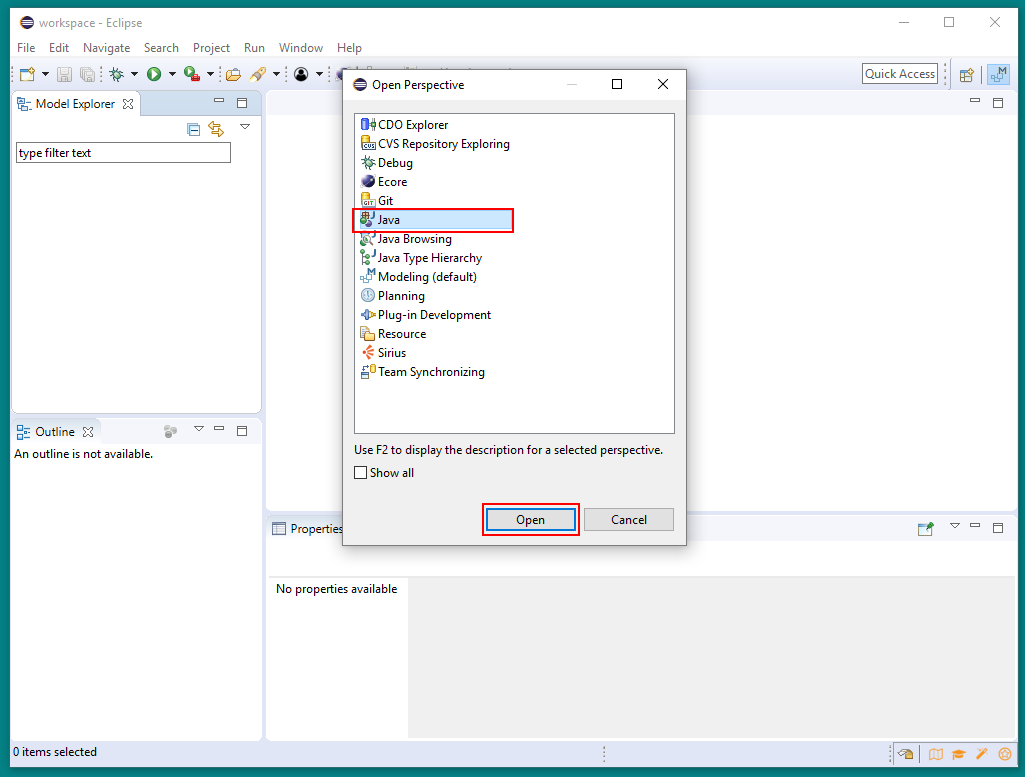
- Click on the Open Perspective icon in the top-right corner
- Select Java and then click on Open
Screenshots:
Install Xtext
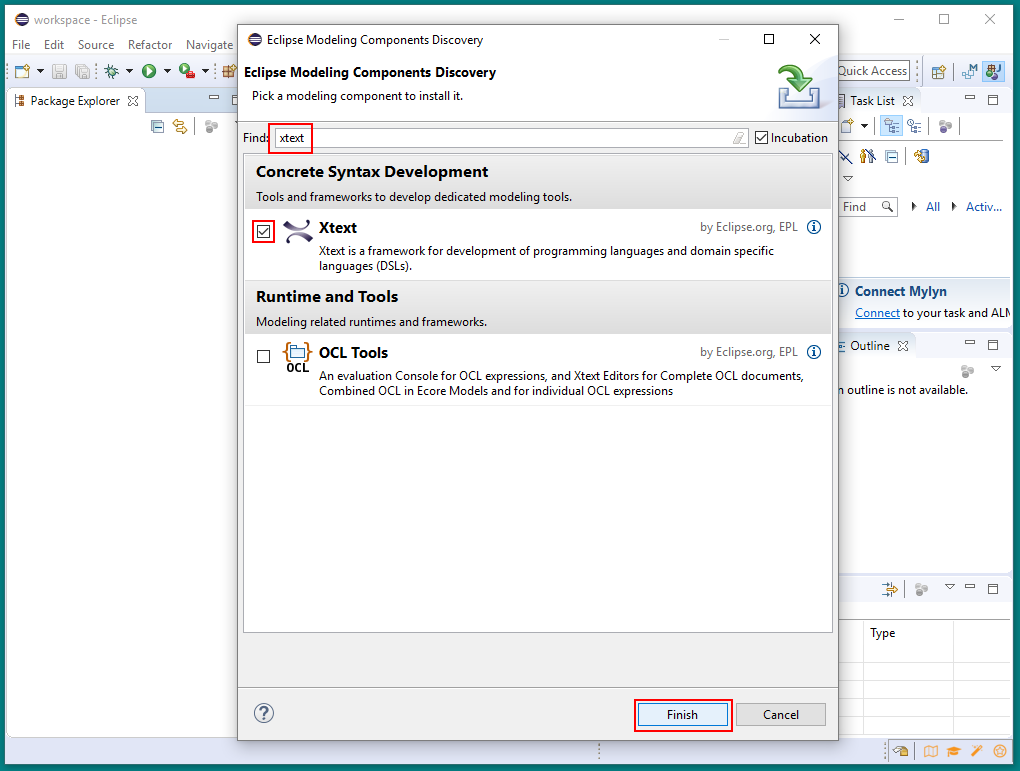
- Click on “Help -> Install Modeling Components”
- Search for Xtext
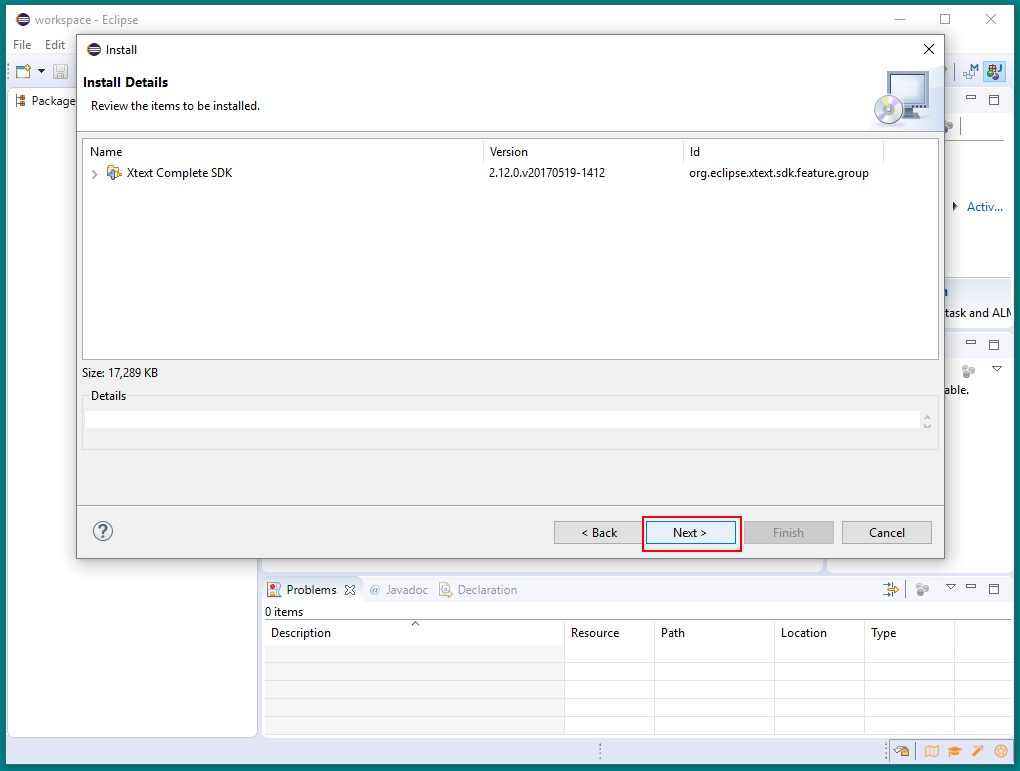
- Select Xtext and click on Finish
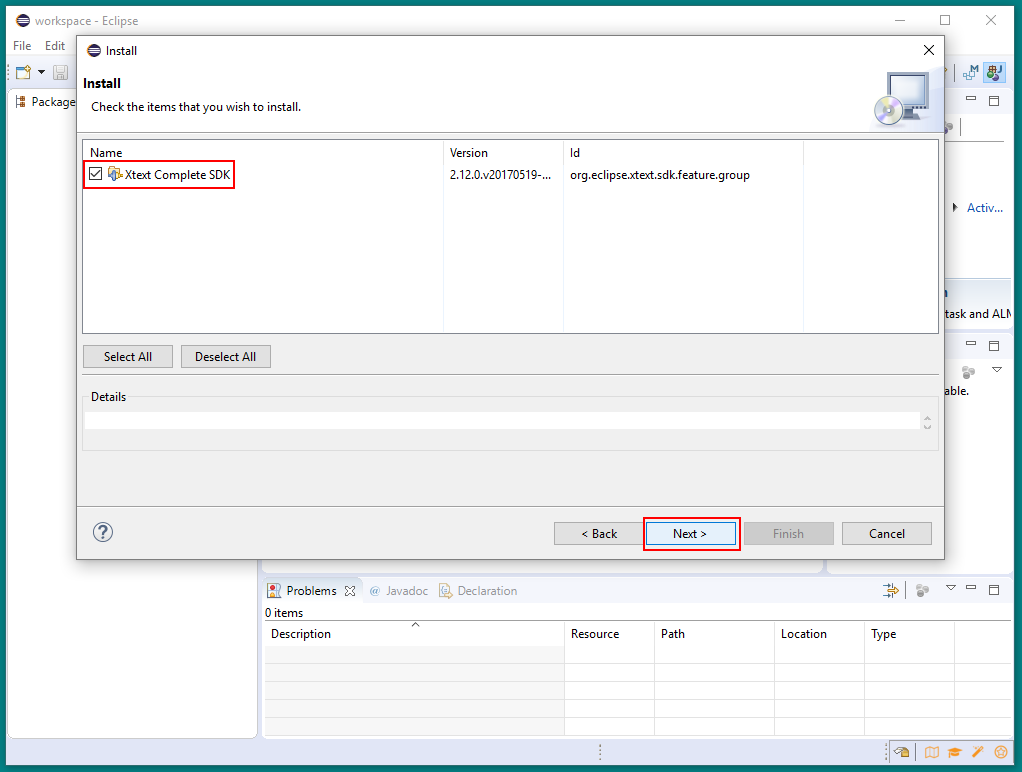
- Make sure the Xtext Complete SDK is selected and click on Next
- Click on Next
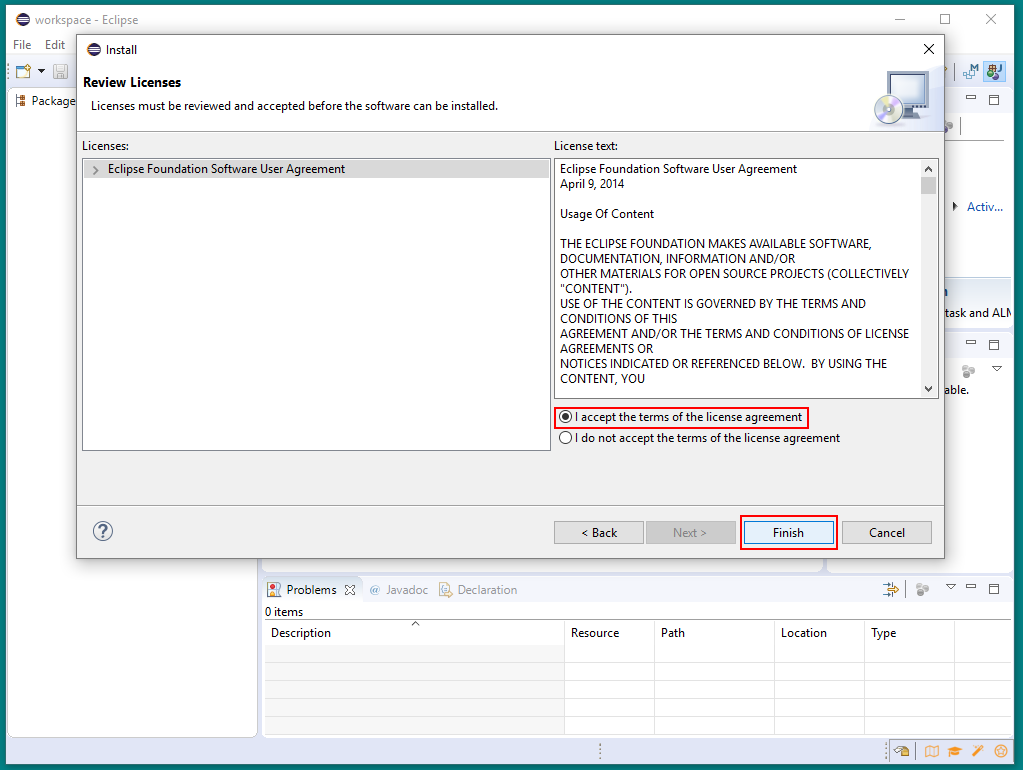
- Accept the license agreement and click on Finish
- Wait for the download and installation to finish and restart when prompted
Screenshots:


Follow the Remaining Steps of the Other Guide
From this point on, follow the steps outlined in the other installation guide starting with Prepare Workspace.